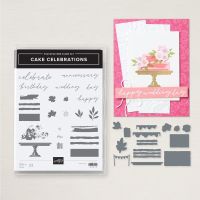
Sketch 17 from 24-25 Annual Catalog (Cake Celebrations)

I love following along with sketches, so much so that I’ve decided to create a gallery using the sketches found on page 22 of the Stampin’ Up! 2024-2025 Annual Catalog. You can follow along with me while I use two sketches every month for inspiration.
Today we are focusing on Sketch 17.
In addition to posting here on my blog, I also host a Facebook Live event where you can stamp along with me. Contact me to get on my reminder list for every second Wednesday. And you can access the 2024-2025 Annual Catalog Sketch Series here.
COLORS
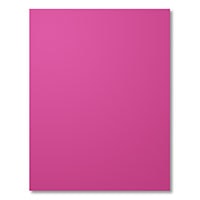
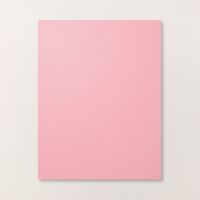
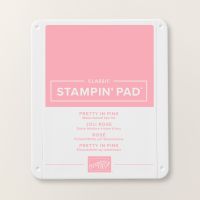
Berry Burst, Pretty in Pink, Basic White
MEASUREMENTS
The measurements, and even the placement of elements on the card, are just a starting point. If you have images that are smaller – use what you have! If you want to move the sentiment to another location or change the size of the banner label, feel free.
- Berry Burst Card Base 8 ½” x 5 ½”, score at 4 ¼”
- Basic White (inside) 4” x 5 ¼”.
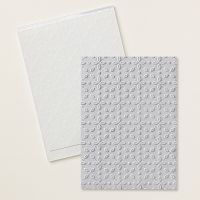
- Pretty in Pink Cardstock Layer. Emboss with Eyelet 3D Embossing Folder.
- (3) 1 ¼” x 5 ¼” strips
- Pretty in Pink layer at 2 3/4″ x 3 3/4″
- Basic White layer at 2 5/8″ x 3 5/8″
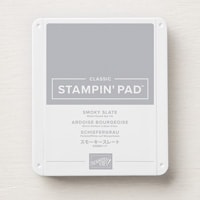
- Die-cut cake stand stamped in Smoky Slate on Smoky Slate Cardstock
- Die-cut and dry emboss large and small cake levels
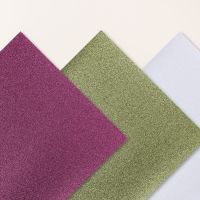
- Die-cut icing from Berry Burst Glimmer Specialty Paper
- DIe-cut stamped flowers and leaves
Instructions
- Cut Berry Burst Card Base 8 ½” x 5 ½”, score at 4 ¼”
- Cut Basic White (inside) 4” x 5 ¼”. Adhere to inside of card.
- Cut Pretty in Pink Cardstock Layer. Emboss with Eyelet 3D Embossing Folder.
- Cut (3) 1 ¼” x 5 ¼” strips. Adhere evenly spaced to card front.
- Cut Pretty in Pink layer at 2 3/4″ x 3 3/4″. Adhere to card front with Stampin’ Dimensionals.
- Cut Basic White layer at 2 5/8″ x 3 5/8″. Adhere to Pretty in Pink layer.
- Die-cut cake stand stamped in Smoky Slate on Smoky Slate Cardstock
- Stamp large and small frosting, and die-cut large and small cakes. Dry emboss cakes with Eyelet 3D Embossing Folder.
- Die-cut icing from Berry Burst Glimmer Specialty Paper
- Assemble cake. Glue large icing to large cake. Glue small icing to small cake. Glue small cake to large cake. Glue to cake stand. Adhere to Basic White layer.
- Stamp and die-cut the flowers and leaves. Decorate the top of the cake with the flowers and leaves.
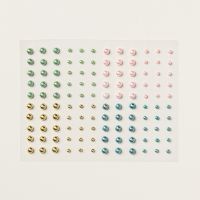
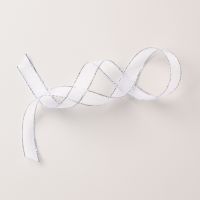
- Add a sweet little bow and sprinkle on the gems.
SKETCH


SHOPPING LIST
If you don’t have a demonstrator, I would love it if you would shop with me. You can get any of these products by clicking the images below. Not sure what would be the best combination of products to purchase? Let’s get on the phone and I can help you simplify your shopping list.