Poppin’ By Photo Card
This card is going to our friends Ed and Jenifer, just because. I also made a different version of the card for Bob’s scrapbook – we will tuck it into a pocket as a fun memory.
It’s based on a card that is part of my Bingo Class, and I converted the gift-card part to become a Photo Card.
See below for instructions and for a gallery with other ideas. There is also a video on YouTube here. If you want to see other Photo Cards, you can click at the top or here.


COLORS
- Strawberry Slush
- Darling Duckling
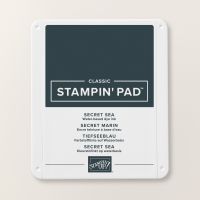
- Secret Sea
- Basic White
MEASUREMENTS
- Card Base Thick Basic White at 5 ½” x 8 ½”, and score at 4 ¼”.
- Thick Basic White at 3 ½” x 8 ¼”, and score at 4 1/8”.
- Basic White at 3 ¼” x 3 7/8”.
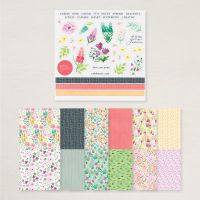
- (2) Designer Series Paper at 1 ¼” x 4”
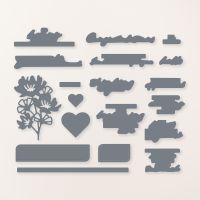
- Poppin’ By die-cuts
- Printed photos
INSTRUCTIONS
- Cut Card Base Thick Basic White at 5 ½” x 8 ½”, and score at 4 ¼”.
- Cut Thick Basic White at 3 ½” x 8 ¼”, and score at 4 1/8”.
- Cut Basic White at 3 ¼” x 3 3/4”.
- Cut (2) Designer Series Paper at 1 ¼” x 4”. Could optionally decorate with more layers, and with stamped or embossed papers.
- Stamp and die-cut Poppin’ By images as desired
- Adhere the two DSP strips on the left and right side of the card front.
- Adhere the mini card to the front of the card.
- Stamp sentiment in upper left corner of Basic White piece. Adhere piece to mini card front with Stampin’ Dimensionals.
- Further decorate the front with Poppin’ By images.
- Box was stamped in Strawberry Slush and Darling Duckling, and paper-pieced for effect
- Glasses and Shoes were die-cut from Secret Sea, and added with the smallest amount of green glue. Use tweezers for placement
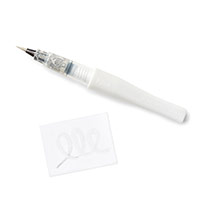
- Popcorn pops were stamped in Darling Duckling, and the butter was made to glisten by adding Wink of Stella.
- All images were popped up (haha) with Stampin’ Dimensionals
- Wait to decorate the inside of larger card.
- Print photos and cut to size.
- Decorate the smaller card by adding 3″ x 3″ Flip Flaps.
- Cut (2) 7/8″ x 2 7/8″ Darling Duckling Two-Tone Cardstock.
- Attach one Flip Flap to inside of Mini-Card
- Decorate front and back of insert (one of the photos will be attached upside down). Add insert to Flip Flap
- Attach next Flip Flap
- Decorate front and back of insert (one of the photos will be attached upside down). Add insert to Flip Flap
- Decorate back of Mini-Card with Designer Series Paper or photo and descriptive label.
- BONUS TIP: How to make the pop-up insert for the inside of the large card
- Cut Cardstock to 1″ x 4 3/4″. Score at 1″, 2″, 3″, and 4″.
- Fold into a perfect square and adhere the short remaining tab to the first tab.
- Use Green Glue to adhere the bottom and the back of the square to the inside of the card. Place the fold of the square right up against the score on the inside of the large card. (see video for specifics)
- Add two cute little popcorn pops, and a sweet little heart.
I love this card sketch. It works great for sending a gift card, and it works great as a Photo Card. I hope you use it to surprise someone today 🙂
GALLERY