Photo Gate-Fold Card

This Fun-Fold brings memory-keeping to a new level.
This card is an alternative version of a card that is available in my current Marathon Fun-Fold class.
COLORS
- Basic White
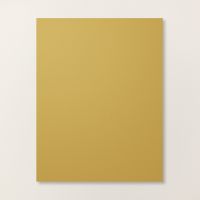
- Wild Wheat
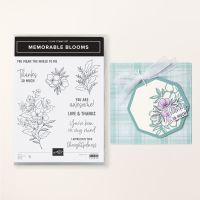
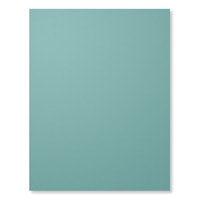
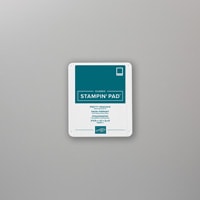
- Pretty Peacock
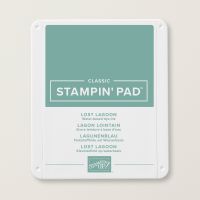
- Lost Lagoon
MEASUREMENTS
- Card Base Basic White Thick 8 3/4” X 5 ⅜”, scored at 4” and 4 3/4” on the 9” side
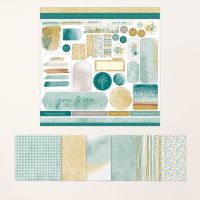
- Front Layer 1 Designer Series Paper 5” X 3 ½”
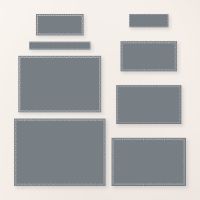
- Die-Cut Textured Rectangles Frame in Pretty Peacock
- Die-Cut Basic White label from Textured Rectangle Dies
- Inside Panel 5” X 3 ½” from Designer Series Paper
- Photo on Wild Wheat frame, cut to size
- Gate fold Basic White 11” X 3 ⅞”, scored at 2 ¾ & 8 ¼
- (2) Designer Series Paper strips for gate fold at 2 ½” x 3 ½”
- Coordinating Cardstock 3 ½” X 2 ½” – cut diagonally to form 2 pockets
- Coordinating DSP 3 ¼” x 2 ¼” – cut diagonally to form 2 liners for the pockets
- Multiple Tags from coordinating cardstock 2” x 3 ¼”
- Multiple photos 1 ¾” x 3”
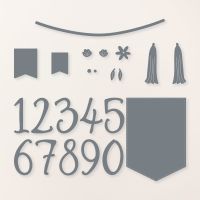
- Die-Cut Flowers and Leaves
- Die-Cut the numbers 3 and 4 (age)
INSTRUCTIONS
- Cut Card Base Basic White Thick 8 3/4” X 5 ⅜”, scored at 4” and 4 3/4” on the 9” side
- Cut Front Layer 1 Designer Series Paper 5” X 3 ½”
- Die-Cut Textured Rectangles Frame in Pretty Peacock
- Die-Cut Basic White label from Textured Rectangle Dies
- Cut Inside Panel 5” X 3 ½” from Designer Series Paper
- Cut Gate fold Basic White 11” X 3 ⅞”, and score at 2 ¾” & 8 ¼”. Score each fold, and make sure the two edges are straight as they butt up against each other.
- Cut (2) Designer Series Paper strips for gate fold at 2 ½” x 3 ½”
- Cut Coordinating Cardstock 3 ½” X 2 ½” – cut diagonally to form 2 pockets
- Cut Coordinating DSP 3 ¼” x 2 ¼” – cut diagonally to form 2 liners for the pockets.
- Cut Multiple Tags from coordinating cardstock 2” x 3 ¼”
- Print and cut multiple photos 1 ¾” x 3”
- Die-Cut Flowers and Leaves
- Die-Cut the numbers 3 and 4 (age)
- Assemble Card in a landscape view.
- Adhere back of card base to inside of gate fold layer. Make sure that all the folds work well together.
- Adhere Designer Series Paper layer to card front.
- Open card and adhere (2) Designer Series Paper layers to each side of the gate fold. NOTE: You could place photos here instead.

- Attach the inside Designer Series Paper layer to the inside of the card.
- Place inside photo (4″ x 3″) on Wild Wheat frame, cut to size
- Attach triangles to left and right inside of gate fold, leaving a very tiny border. Only put adhesive on the straight edges (bottom and side) – leaving the angled edge free for the tags to tuck in. I used just the thinnest line of glue along the edges. You want to leave as much room as possible for the pockets.
- Attach the pocket liners.
- Decorate the tags, and tuck them inside the pockets.


- Decorate the front.
This card makes me so happy. I am sending it to my sister Carrie.
Bob, Wrigley and I got the chance to celebrate her son Adam’s 34th birthday with them all in Brookings, Oregon. I’ve also made one for myself as a great memory of the trip. (I also documented it for Adam and gave him pages in a large Scrapbook Album I gifted him. (LOVE my portable Selphy printer.))
There are so many reasons to make and send this card – as a sweet memory, with a gift-card, or just to send a super-wow birthday or thinking -of-you card.
Hope you can join our free zoom class next month – wonder what I will be scrapbooking then?
Product List