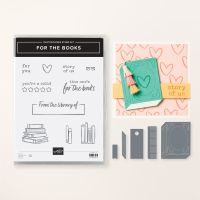
For the Books Waterfall Card
Book lovers will smile at this never-ending stack of books!


Colors
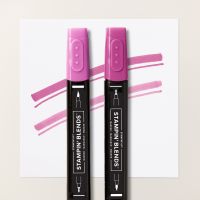
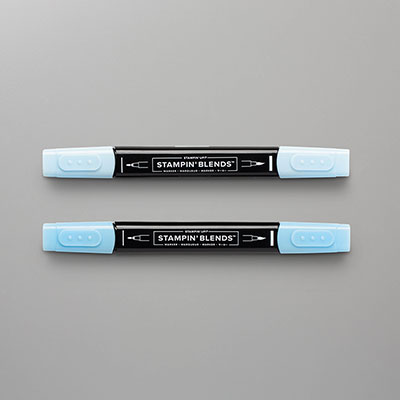
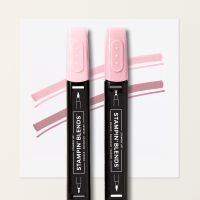
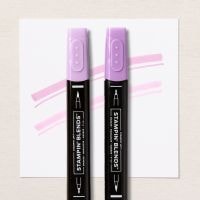
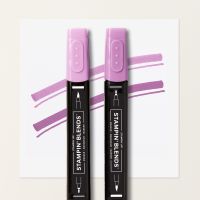
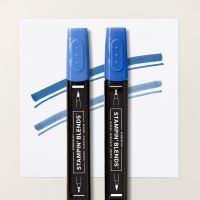
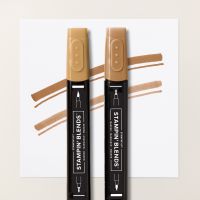
Berry Burst, Balmy Blue, Pretty in Pink, Flirty Flamingo, Blueberry Bushel, Fresh Freesia, Petunia Pop
Measurements
- Cardstock Card Base 4 ¼” x 5 ½”
- (4) Cardstock Squares 2” x 2”
- Cardstock strip 1” x 4 ¼”
- Basic White layer (for back of card) 4” x 5 ¼”
- (4) Basic White squares 1 ¾” x 1 ¾”
- Basic White strip for the waterfall element 1 ⅞” x 9”, score at 2”, 2 ¾”, 3 ½” and 4 ¼”
Instructions
- Cut all the pieces first.
- Cut Cardstock Card Base 4 ¼” x 5 ½”
- Cut (4) Cardstock Squares 2” x 2”
- Cut Cardstock strip 1” x 4 ¼”
- Cut Basic White layer (for back of card) 4” x 5 ¼”
- Cut (4) Basic White squares 1 ¾” x 1 ¾”
- Cut Basic White strip for the waterfall element 1 ⅞” x 9”, score at 2”, 2 ¾”, 3 ½” and 4 ¼”
- Stamp and color the four Basic White squares. Two of them will have glasses on top of the stack of books. (see photo)
- Stamp the waterfall strip on the long end. Stamp the stool on the bottom, and stack the books all the way to just above the scoreline. Color the books in coordinating colors. (see photo)
- Add the four stamped and colored squares to the four cardstock squares
- Fold the pull strip in half, with the stack of books on the inside of the fold.
- Add image squares to the pull strip. Start with the bottom image (one with glasses) and work backwards. Add adhesive to the top part of the back of the square. Make sure to center the square over the 1 7/8” strip. Adhere to the front of the pull strip, butted up against the lowest score line.
- Then work your way up. Put adhesive on the top back, and butt up square to the next score line, making sure to align withthe bottom square.
- Do the same for the third quare, adding it to the next score line up.
- Add the last square (one with glasses). Make sure to line it up exactly even with the top score line.
- Start assembling the card.
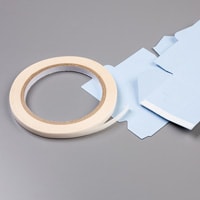
- Put glue or tear-n-tape along the two edges of the cardstock strip on the back. Place strip about ¾ of the way down from the top of the card. Adhere the strip just on the left and right sides.
- To attach the waterfall, start by adding tear n tape along the center bottom of the strip
- Slide the panel in and position it where you want.
- Place the back of the waterfall to the front of the cardstock strip on the card base.
- Pull to test.
- For fun, you could add a little pull tab with the tassel! Check out my quick video for how to create the tassel.


Thank you Dawn Griffith – I first learned this card from Dawn years ago!
Products
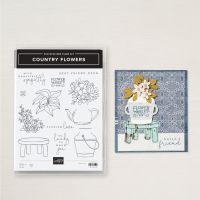
Product List