Diamond Gatefold


Colors
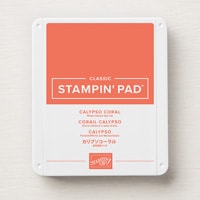
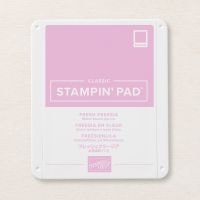
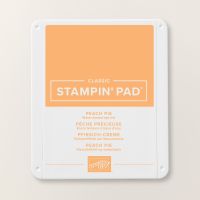
Calypso Coral, Fresh Freesia, Peach Pie, Gold, Basic White
Measurements
- Note: This card requires a 6″ Square Envelope and extra postage
- Card Base Basic White Thick 12” x 4”, score at 2”, 4”, 8” and 10”
- NOTE: You can use Two-Tone Cardstock instead. You can also piece two pieces of Cardstock together if you don’t have a 12” x 12” Cardstock piece. Cut (1) piece at 4” x 8” and score at 2” and 4”. Cut second piece at 4” x 4 ½”, and score at 2” and 4” and burnish well.. Adhere together with the ½” tab.
- (2) Basic White Thick 4” Squares
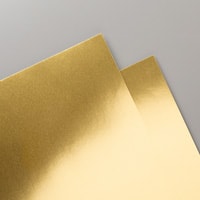
- (1) Gold Foil 3 ¾” Square
- Note: When selecting Designer Series Paper, pay extra attention to the “direction” of the paper since the square will be turned on an angle.
- (2) Designer Series Paper 3 ¾” Square
- (1) Designer Series Paper 3 ½” Square
- (4) Designer Series Paper Panels 1 3/4” x 3 3’4”
- (1) Medium Label Die-cut in Basic White, 1 Small Label Die-cut in Basic White
- Stamped and die-cut flowers
- Gold foil leaf die-cuts
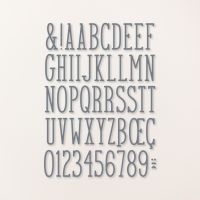
- Die-cut Gold Foil numbers
Instructions
- Note: This card requires a 6″ Square Envelope and extra postage
- Cut Card Base Basic White Thick 12” x 4”, score at 2”, 4”, 8” and 10”. Burnish the folds well, and set aside.
- NOTE: You can use Two-Tone Cardstock instead. You can also piece two pieces of Cardstock together if you don’t have a 12” x 12” Cardstock piece. Cut (1) piece at 4” x 8” and score at 2” and 4”. Cut second piece at 4” x 4 ½”, and score at 2” and 4” and burnish well.. Adhere together with the ½” tab.
- Cut (2) Basic White Thick 4” Squares. You want these to be as identical in size as possible.
- Cut (1) Gold Foil 3 ¾” Square. Adhere with glue to one of the Basic White squares.
- Note: When selecting Designer Series Paper, pay extra attention to the “direction” of the paper since the square will be turned on an angle.
- Cut (2) Designer Series Paper 3 ¾” Squares. Adhere one with glue to the other square. Adhere one to the inside of the card base in the center area.
- Cut (1) Designer Series Paper 3 ½” Square. Adhere to the Gold Foil square.
- Cut (4) Designer Series Paper Panels 1 3/4” x 3 3/4”. Arrange in a pleasing manner and adhere to the four panels of the card base.
- Die-cut (1) Medium and (1) SmallLabel in Basic White
- Stamp and die-cut flowers
- Die-cut Gold foil leaves and greenery
- Die-cut Gold Foil numbers. PRO TIP: Apply adhesive sheets to the back first, to make a “sticker” that’s easy to adhere.
- Make sure you have adhered all the layers together first. They all need to be cut together at the same time. From here on out, I will refer to the square decorative layers as “diamonds” since the squares will be placed in diamond shapes.
- This version of the card requires a 6” square envelope and extra postage.
- For the inside: Cut two sides. Place diamond on your trimmer so that the top and bottom point to the 1 ⅞” mark. Cut away a small triangle. Flip the card over and repeat on the opposite side.
- For the front: Leave it as a full diagonal.
- Note: Before gluing the diamonds to the front and the inside, place and align them until you like their position, then adhere.
- Add the diamond to the inside of the card first. To get it perfectly placed, use the grid to line it up top to bottom and left to right. (You can just eyeball it though)
- Once the diamond is placed inside the card, you can glue the front diamond in place. Remember to only adhere it to the left side.
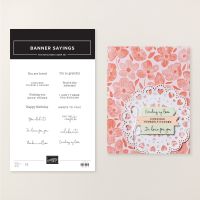
- Stamp the smaller label and adhere it to the inside of the card.
- Add number stickers to the larger label and center the label on the front of the card, adhering it with Stampin’ Dimensionals.
- Stamp and die-cut the flowers. Adhere them to the front of the card with glue and Stampin’ Dimensionals in a pleasing manner.
- Tuck in and adhere gold leaf die-cuts in a pleasing manner.
- Add Wink-of-Stella and gems.
- This card deserves a decorated envelope and flap!
BONUS: If you want to see how to assemble the card – video coming soon